

When solving a new ML problem, it’s common to start by experimenting with a subset of your data in a notebook environment. But if you want to execute a long-running job, add accelerators, or run multiple training trials with different input parameters, you’ll likely find yourself copying code over to a Python file to do the actual computation. That’s why we’re excited to announce the launch of the notebook executor, a new feature of Vertex AI Workbench that allows you to schedule notebooks ad hoc, or on a recurring basis. With the executor, your notebook is run cell by cell on Vertex AI Training. You can seamlessly scale your notebook workflows by configuring different hardware options, passing in parameters you’d like to experiment with, and setting an execution schedule, all via the Console UI or the notebooks API.
Built to Scale
Imagine you’re tasked with building a new image classifier. You start by loading a portion of the dataset into your notebook environment and running some analysis and experiments on a small machine. After a few trials, your model looks promising, so you want to train on the full image dataset. With the notebook executor, you can easily scale up model training by configuring a cluster with machine types and accelerators, such as NVIDIA GPUs, that are much more powerful than the current instance where your notebook is running.
Your model training gets a huge performance boost from adding a GPU, and you now want to run a few extra experiments with different model architectures from TensorFlow Hub. For example, you can train a new model using feature vectors from various architectures, such as Inception, ResNet, or MobileNet, all pretrained on the ImageNet dataset. Using these feature vectors with the Keras Sequential API is simple; all you need to do is pass the TF Hub URL for the particular model to hub.KerasLayer.
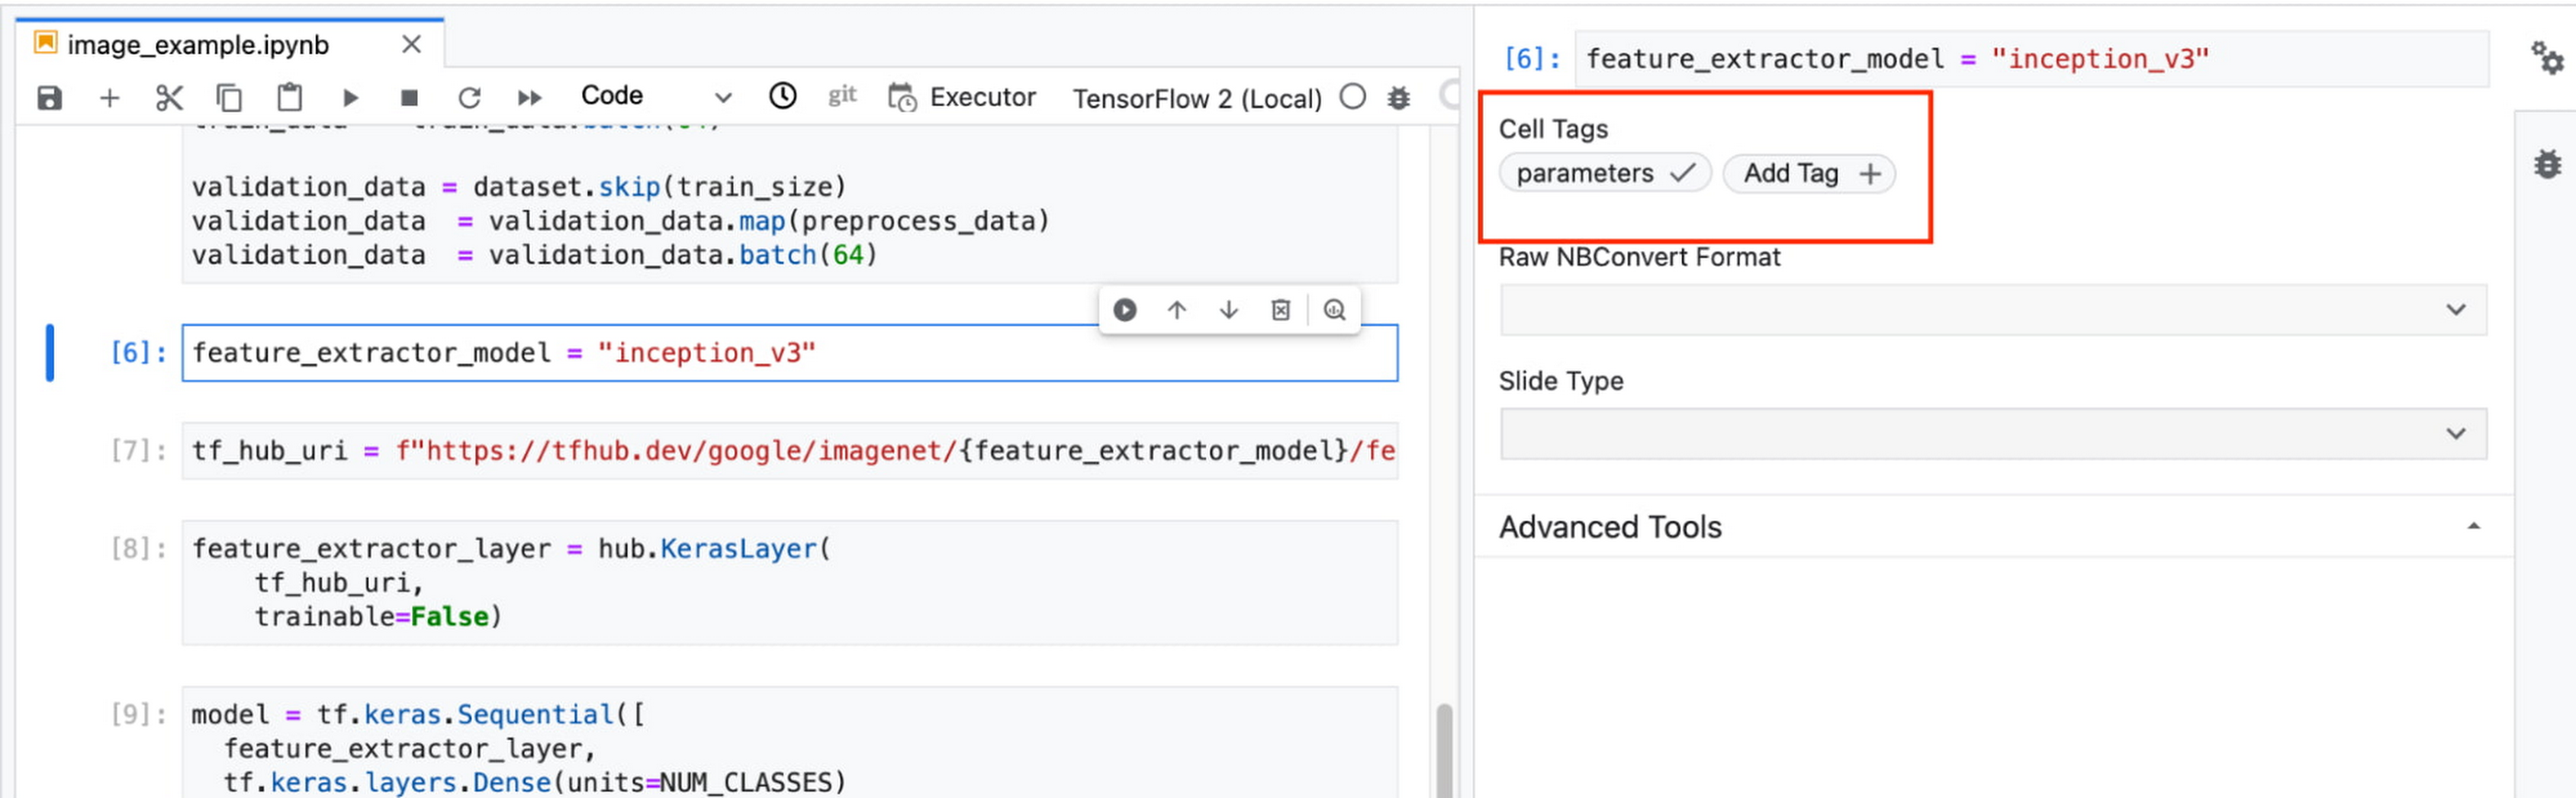
Instead of running these trials one by one in the notebook, or making multiples copies of your notebook (inceptionv3.ipynb, resnet50.ipynb, etc) for each of the different TF Hub URLs, you can experiment with different architectures by using a parameter tag. To use this feature, first select the cell you want to parameterize. Then click on the gear icon in the top right corner of your notebook.
Type “parameters” in the Add Tag box and hit Enter. Later when configuring your execution, you’ll pass in the different values you want to test.
In this example, we create a parameter called feature_extractor_model, and we’ll pass in the name of the TF hub model we want to use when launching the execution. That model name will be substituted into the tf_hub_uri variable, which is then passed to the hub.KerasLayer, as shown in the screenshot above.
After you’ve discovered the optimal model architecture for your use case, you’ll want to track the performance of your model in production. You can create a notebook that pulls the most recent batch of serving data that you have labels for, gets predictions, and computes the relevant metrics. By scheduling these jobs to execute on a recurring basis, you’ve created a lightweight monitoring system that tracks the quality of your model predictions over time. The executor supports your end-to-end ML workflow, making it easy to scale up or scale out notebook experiments written with Vertex AI Workbench.
Configuring Executions
Executions can be configured through the Cloud Console UI or the Notebooks API.
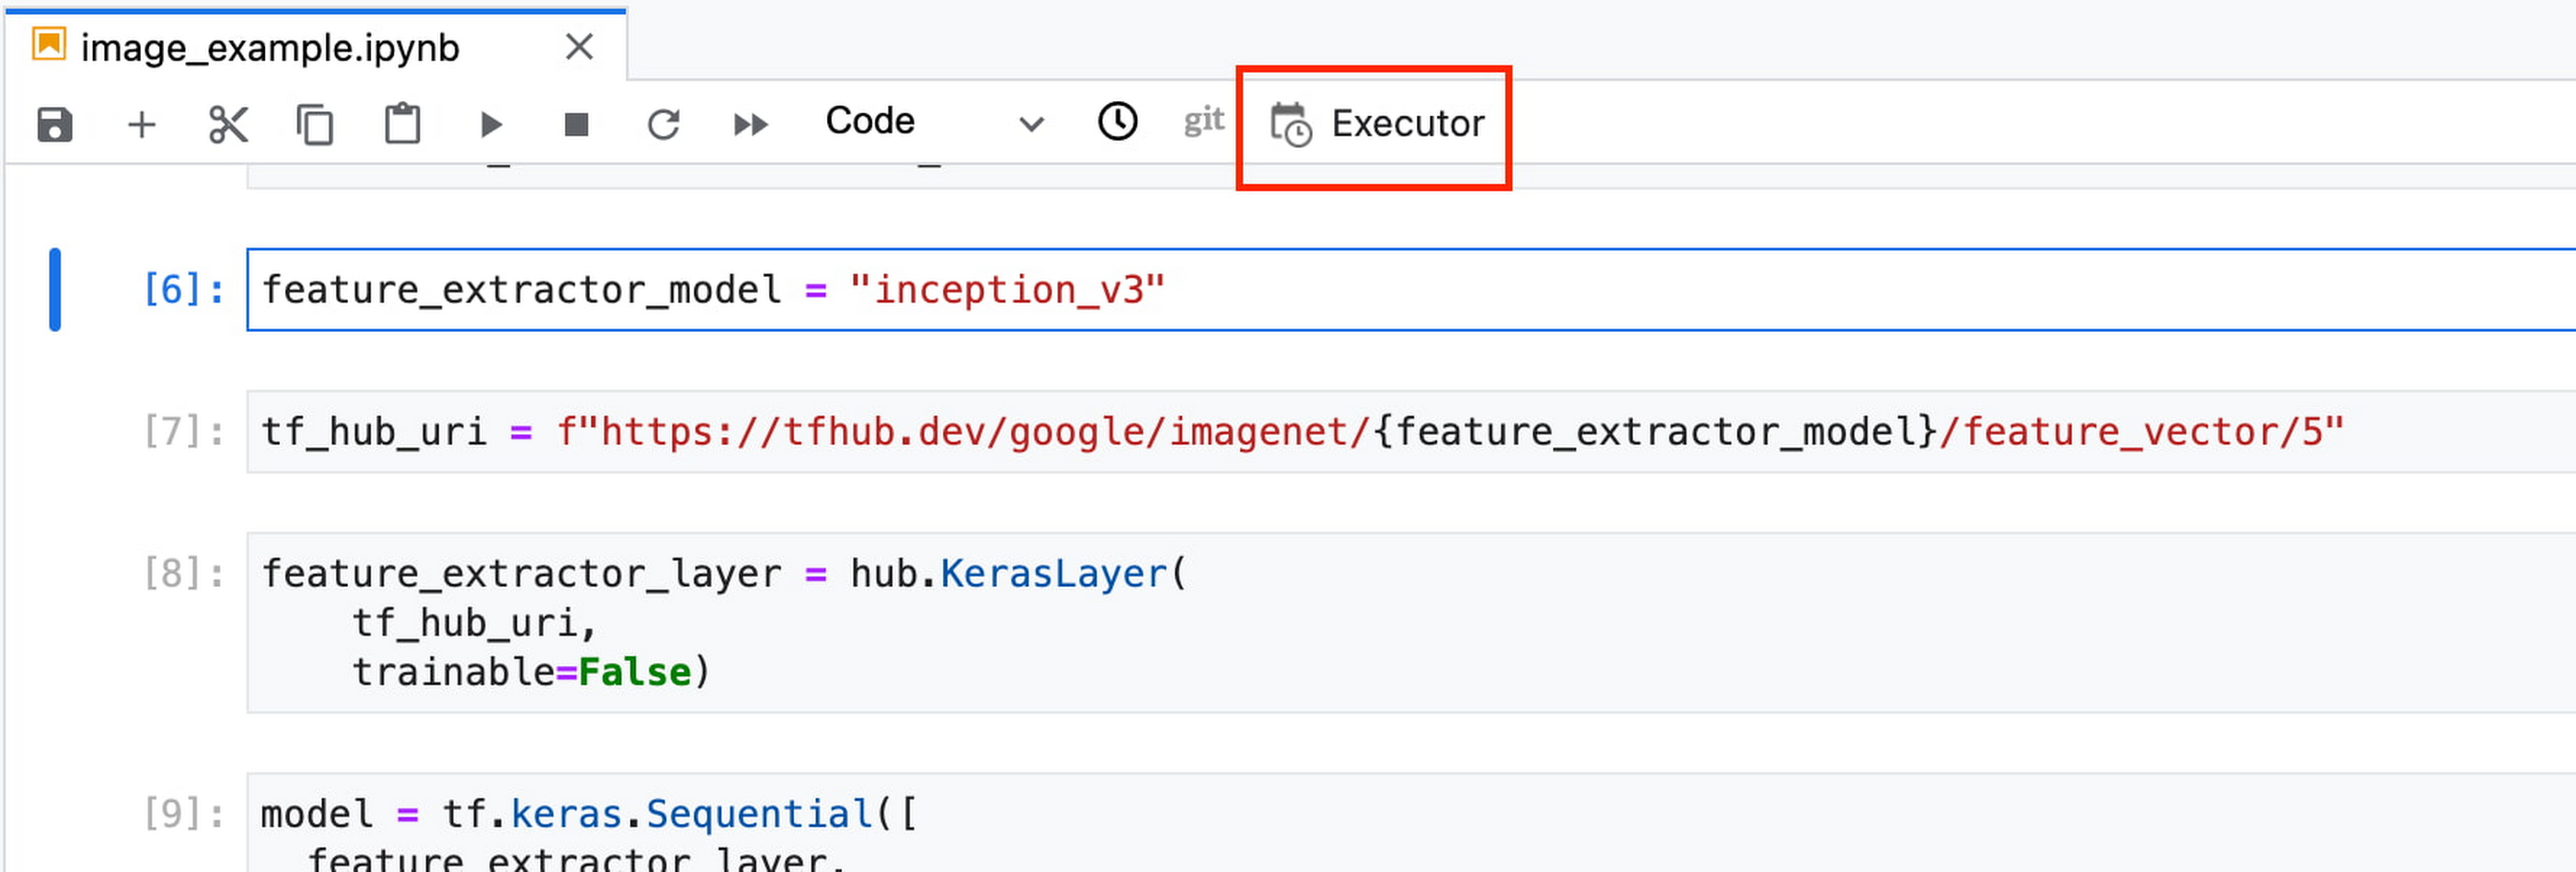
In your notebook, click on the Executor icon.
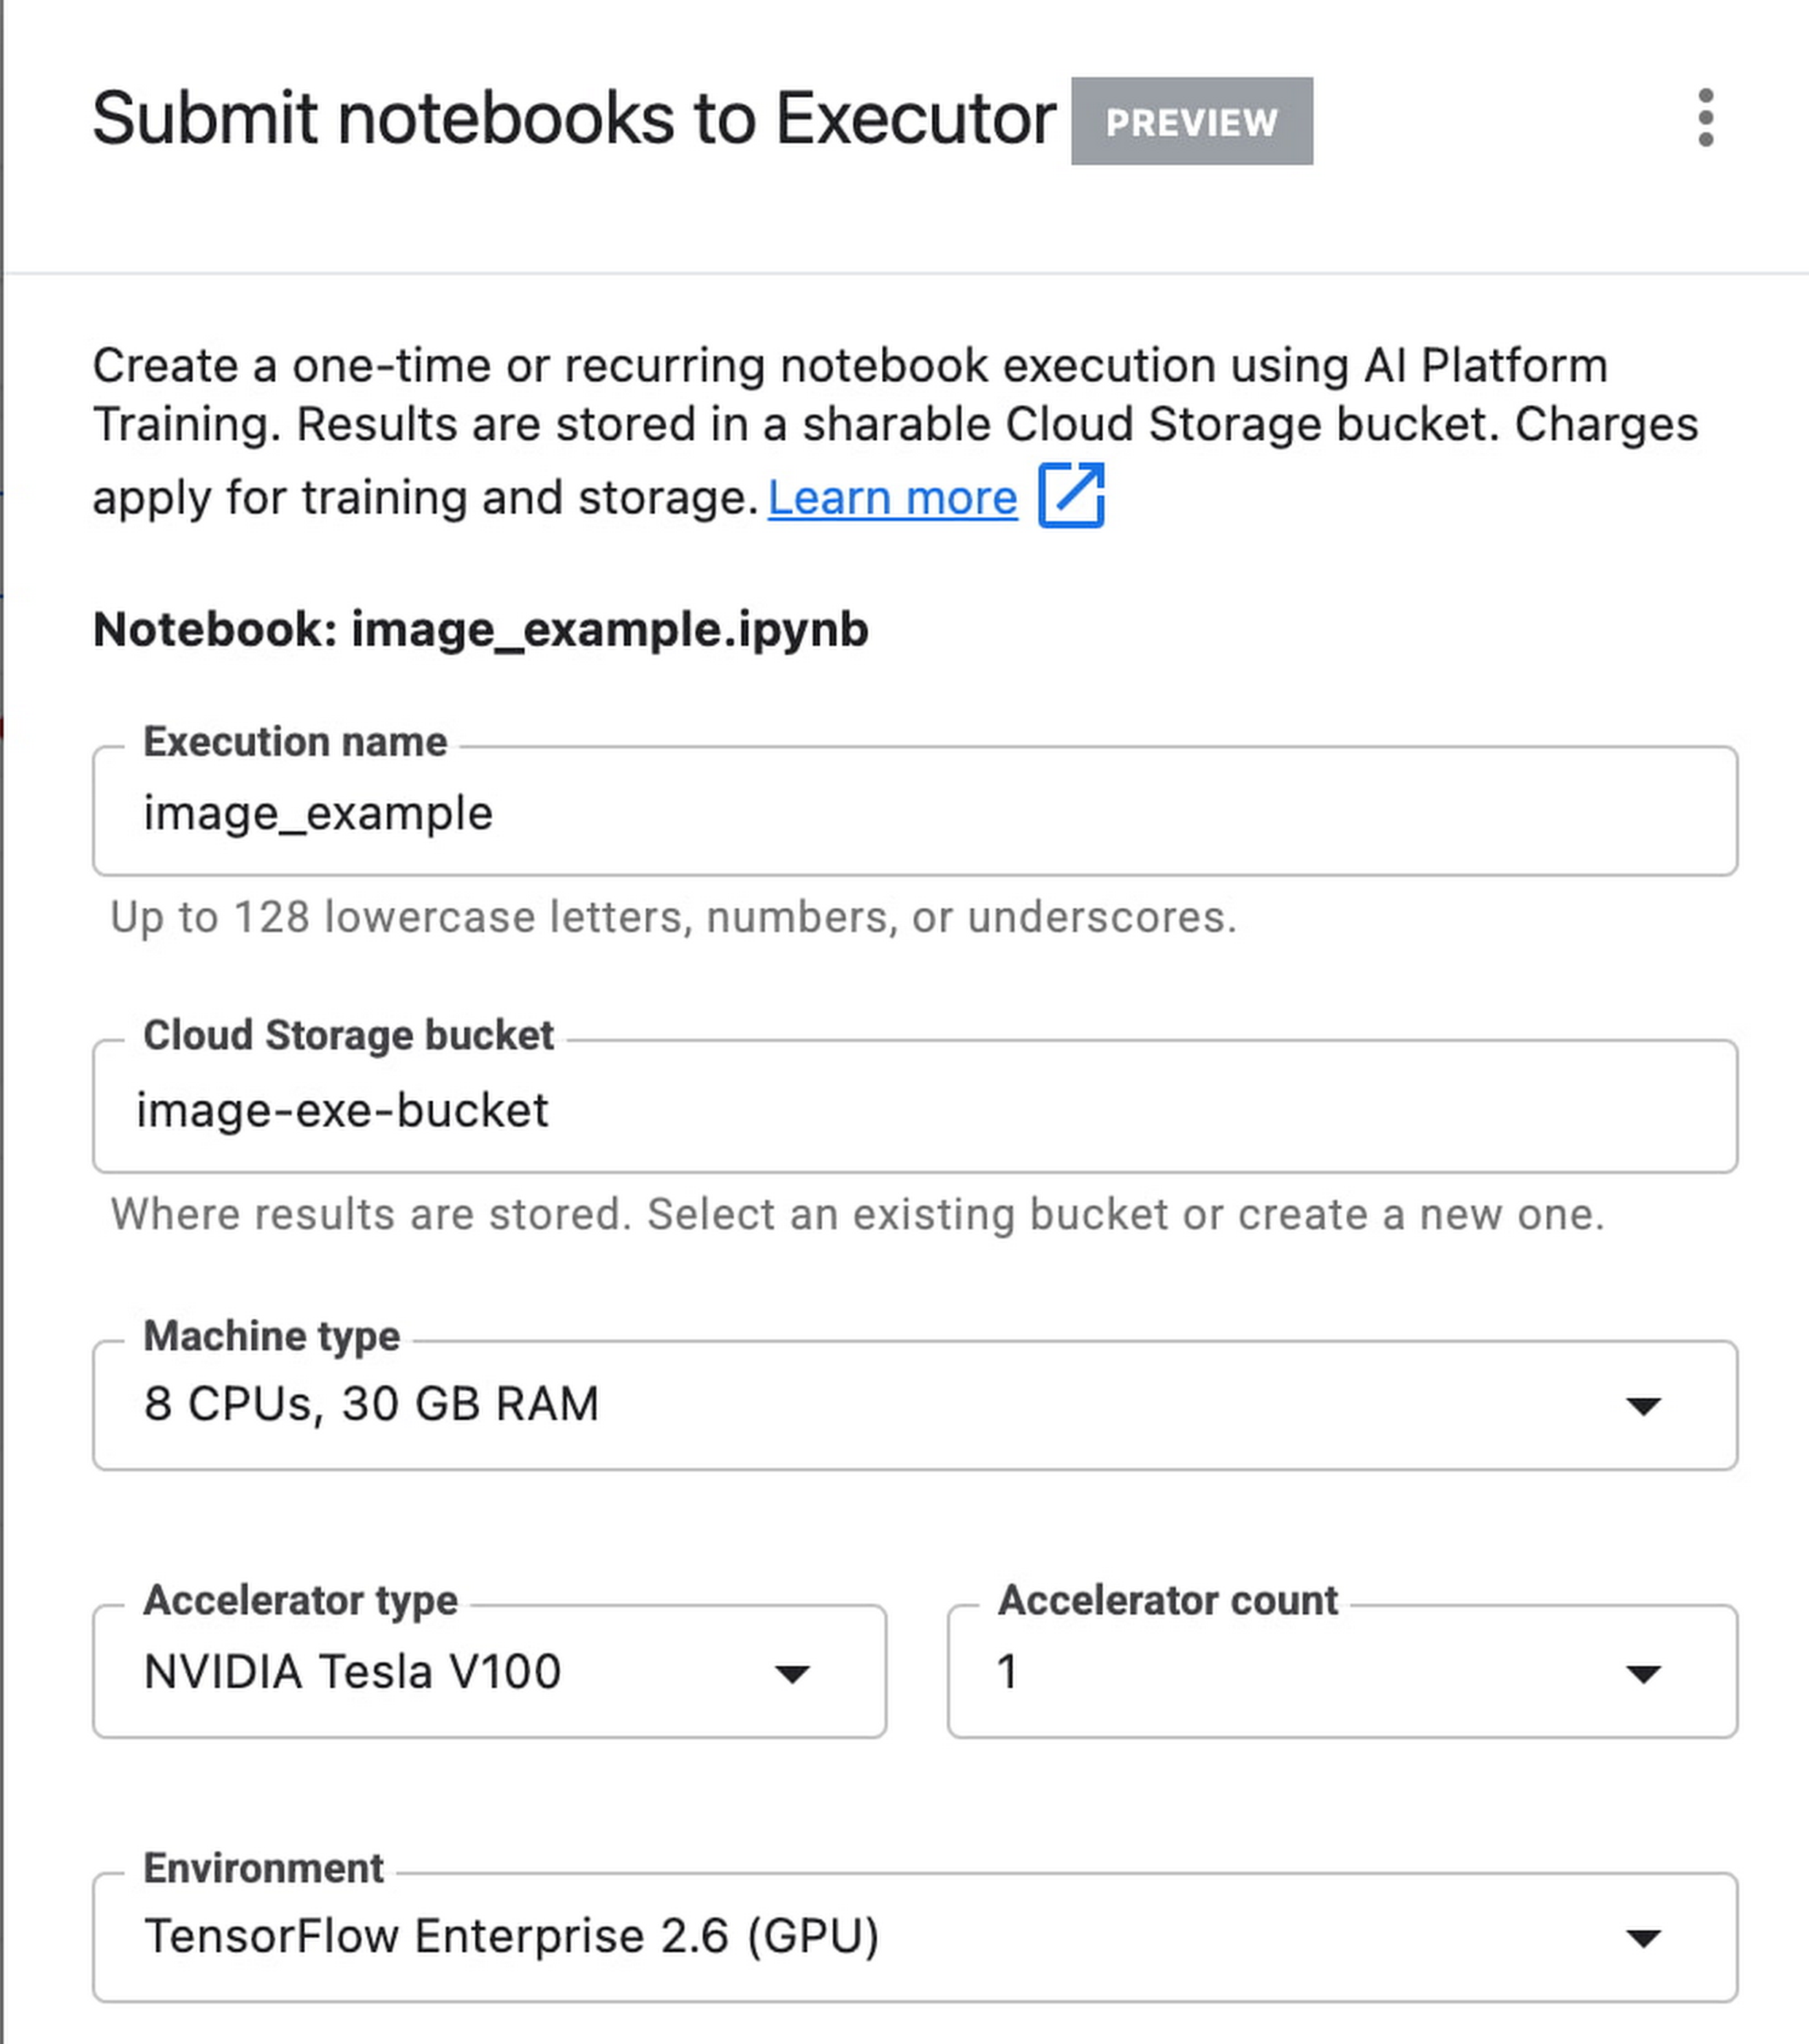
In the side panel on the right specify the configuration for your job, such as the machine type and the environment. You can select an existing image, or provide your own custom docker container image.
If you’ve added parameter tags to any of your notebook cells, you can pass in your parameter values to the executor.
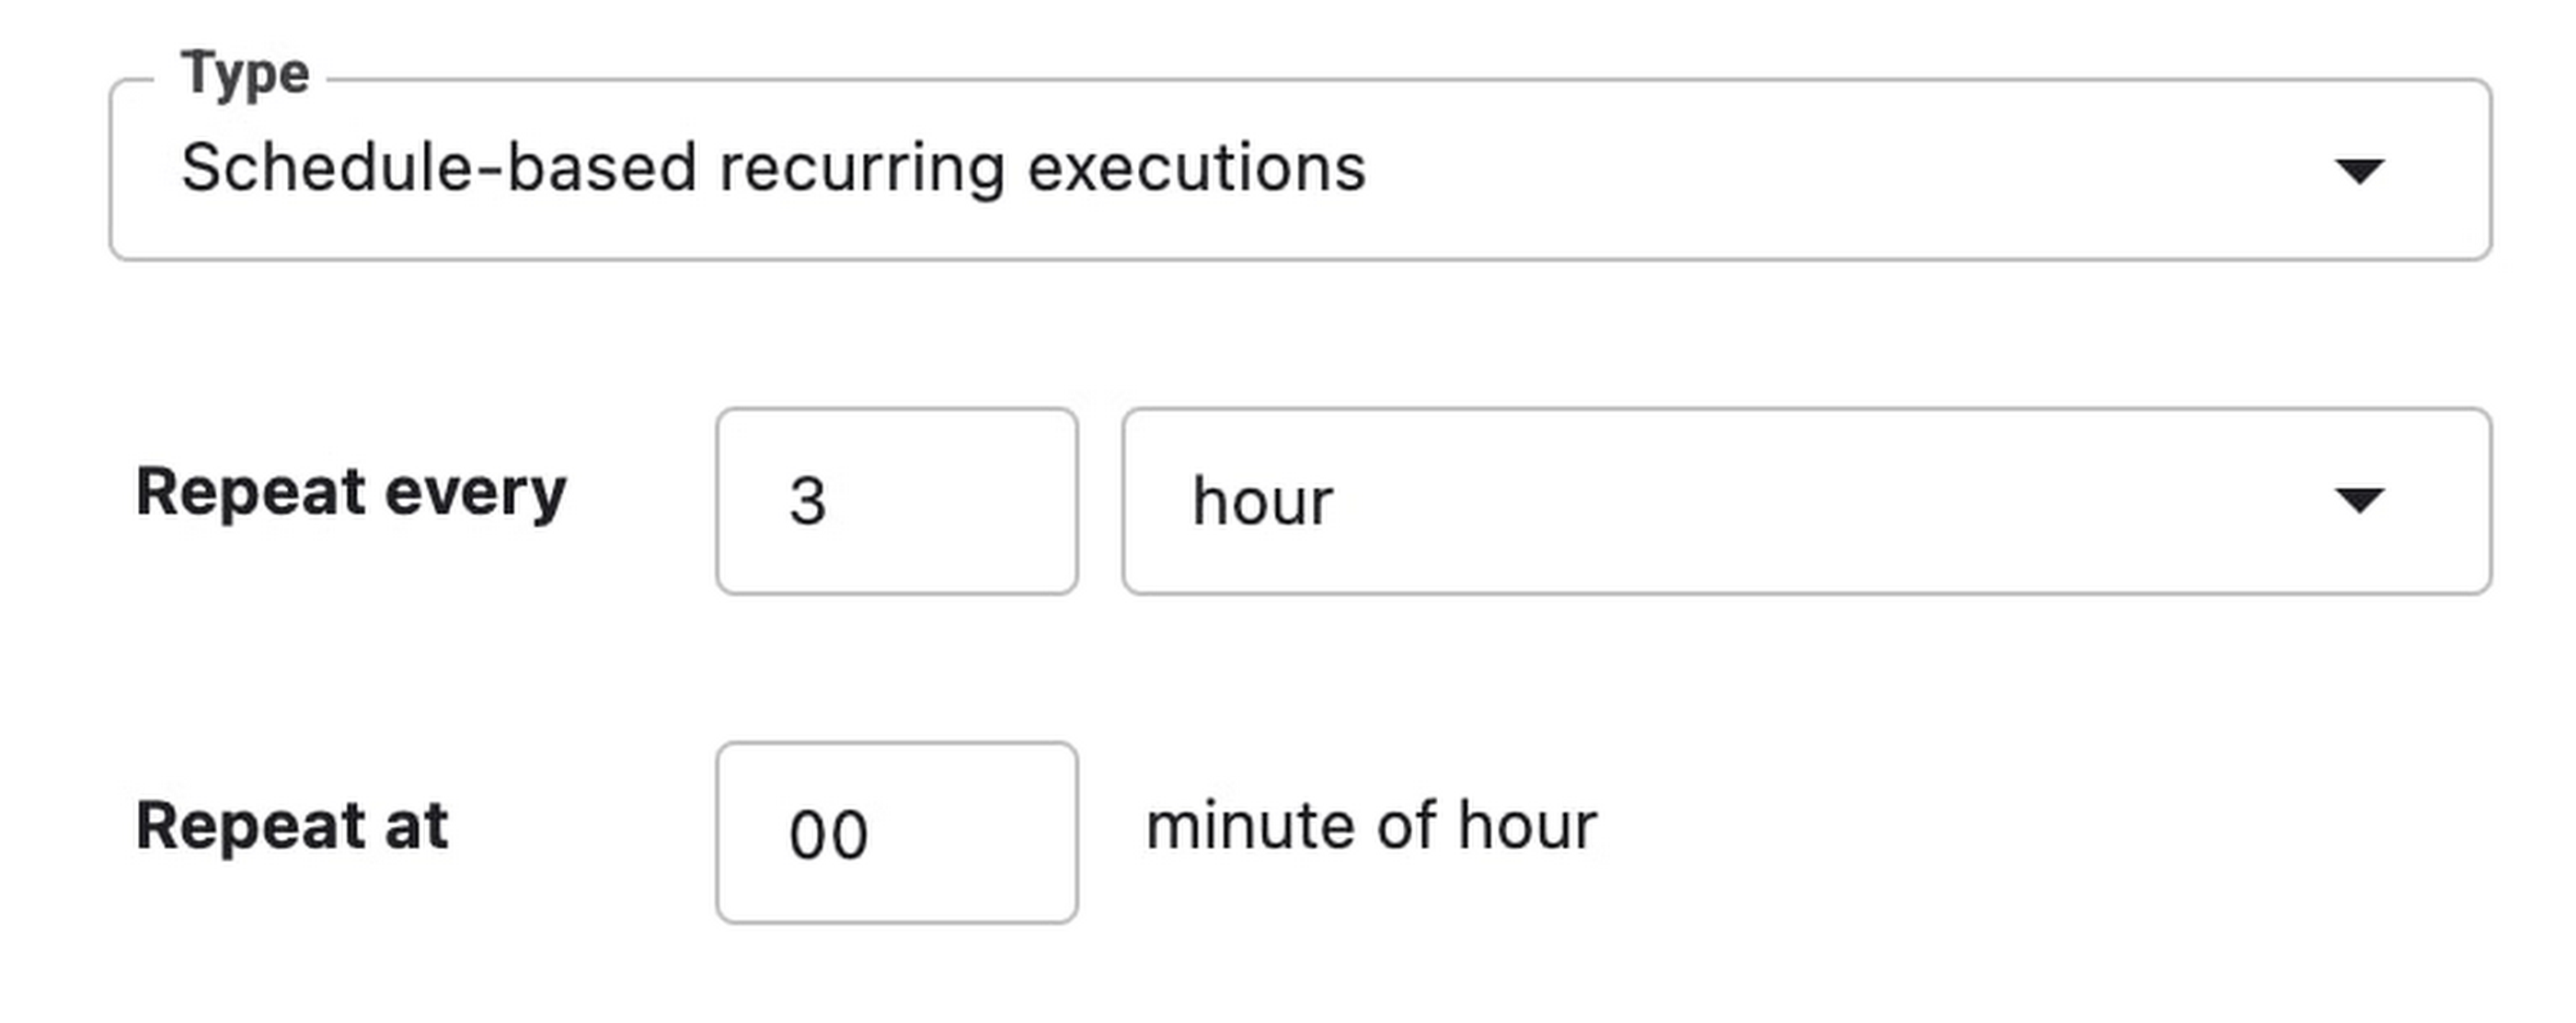
Finally, you can choose to run your notebook as a one time execution, or schedule recurring executions.
Then click SUBMIT to launch your job.
In the EXECUTIONS tab, you’ll be able to track the status of your notebook execution.
When your execution completes, you’ll be able to see the output of your notebook by clicking VIEW RESULT.
You can see that an additional cell was added with the comment # Parameters, that overrides the default value for feature_extractor_model, with the value we passed in at execution time. As a result, the feature vectors used for this execution came from a ResNet50 model instead of an Inception model.
What’s Next?
You now know the basics of how to use the notebook executor to train with a more performant hardware profile, test out different parameters, and track model performance over time. If you’d like to try out an end-to-end example, check out this tutorial. It’s time to run some experiments of your own!
Cloud BlogRead More