Workflows is a versatile service in orchestrating and automating a wide range of use cases: microservices, business processes, Data and ML pipelines, IT operations, and more. It can also be used to automate deployment of containerized applications on Kubernetes Engine (GKE) and this got even easier with the newly released (in preview) Kubernetes API Connector.
The new Kubernetes API connector enables access to GKE services from Workflows and this in turn enables Kubernetes based resource management or orchestration, scheduled Kubernetes jobs, and more.
In this blog post, l show how to use the Kubernetes Engine API connector to create a GKE cluster and then use the new Kubernetes API connector to create a Kubernetes deployment and a service.
Kubernetes Engine API connector vs. Kubernetes API connector
Before we get into details, you might be wondering: What’s the difference between Kubernetes Engine API connector and Kubernetes API connector?
The former is a connector for Kubernetes Engine API and it’s about creating, deleting, or getting information about GKE clusters in Google Cloud. This connector has been available for a while.
The latter is a connector for Kubernetes API and it’s about reading and writing Kubernetes resources such as Kubernetes deployments, services, and more on the GKE cluster. This is a newly released (in preview) connector.
Up until recently, you were able to create GKE clusters pretty easily with Workflows using the connector. However, you were not able to deploy applications in that cluster that easily. Kubernetes API connector fixes that by giving you an easy way to call Kubernetes API from Workflows.
Create a GKE cluster with Kubernetes Engine API connector
To get started, you can create an auto-pilot enabled GKE cluster with Workflows and the connector:
Note that the connector waits for the long-running operation (cluster creation) until it’s finished but you can optionally add a step to check if the cluster is created and running afterwards, as shown here.
Create a Kubernetes deployment with the Kubernetes API connector
Once you have a GKE cluster, you can start scheduling Kubernetes deployments and pods. For example, in Kubernetes documentation, there’s an example of a Kubernetes deployment with 3 nginx pods. You can create the same deployment with Workflows as follows:
Notice that it’s using the Kubernetes API connector with the gke.request call to the GKE cluster’s control plane.
Create a Kubernetes service with the Kubernetes API connector
You probably want to expose the deployment and pods to the outside world with a load balancer. That’s what a Kubernetes service does. You need to explore the Kubernetes Service API to figure out what the API call looks like.
This is how you create a Kubernetes service from Workflows for the nginx deployment:
Run the workflow:
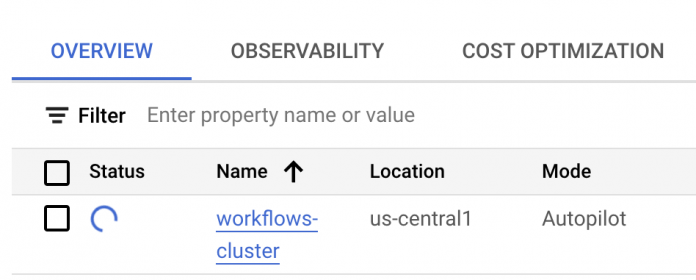
As the workflow is running, you should see the GKE cluster is being created:
Once the cluster is created, Workflows will create the deployment and the service. You can check this with kubectl.
First, authenticate for kubectl:
Now, you should be able to see the running pods:
You can also see the service:
If you go to the external IP, you can also see the nginx landing page, which means our pods are running and the service is public:
There are many ways of creating and managing Kubernetes applications in Google Cloud. In this post, I showed you how to use the newly released Kubernetes API connector and the existing Kubernetes Engine API connector to manage the full lifecycle of Kubernetes applications from Workflows.
For more information, see Access Kubernetes API objects using a connector tutorial and if you have questions or feedback feel free to reach out to me on Twitter @meteatamel.
Cloud BlogRead More


