

Banking and financial institutions review thousands of credit applications per week. The credit approval process requires financial organizations to invest time and resources in reviewing documents like W2s, bank statements, and utility bills. The overall experience can be costly for the organization. At the same time, organizations have to consider borrowers, who are waiting for decisions on their credit applications. To retain customers, organizations need to process borrower applications quickly with low turnaround times.
With an automated credit approval assistant using machine learning, financial organizations can expedite the process, reduce cost, and provide better customer experience with faster decisions. Banks and Fintechs can build a virtual agent that can review a customer’s financial documents and provide a decision instantly. Building an effective credit approval process not only improves the customer experience, but also lowers the cost.
In this post, we show how to build a virtual credit approval assistant that reviews the financial documents required for loan approval and makes decisions instantly for a seamless customer experience. The solution uses Amazon Lex, Amazon Textract, and Amazon Connect, among other AWS services.
Overview of the solution
You can deploy the solution using an AWS CloudFormation template. The solution creates a virtual agent using Amazon Lex and associates it with Amazon Connect, which acts as the conversational interface with customers and asks the loan applicant to upload the necessary documents. The documents are stored in an Amazon Simple Storage Service (Amazon S3) bucket used only for that customer.
This solution is completely serverless and uses Amazon S3 to store a static website that hosts the front end and custom JavaScript to enable the rest of the requests. Amazon CloudFront serves as a content delivery network (CDN) to allow a public front end for the website. CloudFront is a fast CDN service that securely delivers data, videos, applications, and APIs to customers globally with low latency and high transfer speeds, all within a developer-friendly environment.
This is a sample project designed to be easily deployable for experimentation. The AWS Identity and Access Management (IAM) policy permissions in this solution use least privilege, however the CloudFront and Amazon API Gateway resources deployed are publicly accessible. To take the appropriate measures to secure your CloudFront distribution and API Gateway resources, refer to Configuring secure access and restricting access to content and Security in Amazon API Gateway, respectively.
Additionally, the backend features API Gateway with HTTP routes for two AWS Lambda functions. The first function creates the session with Amazon Connect for chat; the second passes the pre-signed URL link fetched by the front end from Amazon Connect to Amazon Lex. Amazon Lex triggers the Lambda function associated with it and lets Amazon Textract read the documents and capture all the fields and information in them. This function also makes the credit decisions based on business processes previously defined by the organization. The solution is integrated with Amazon Connect to let customers connect to contact center agents if the customer is having difficulty or needs help through the process.
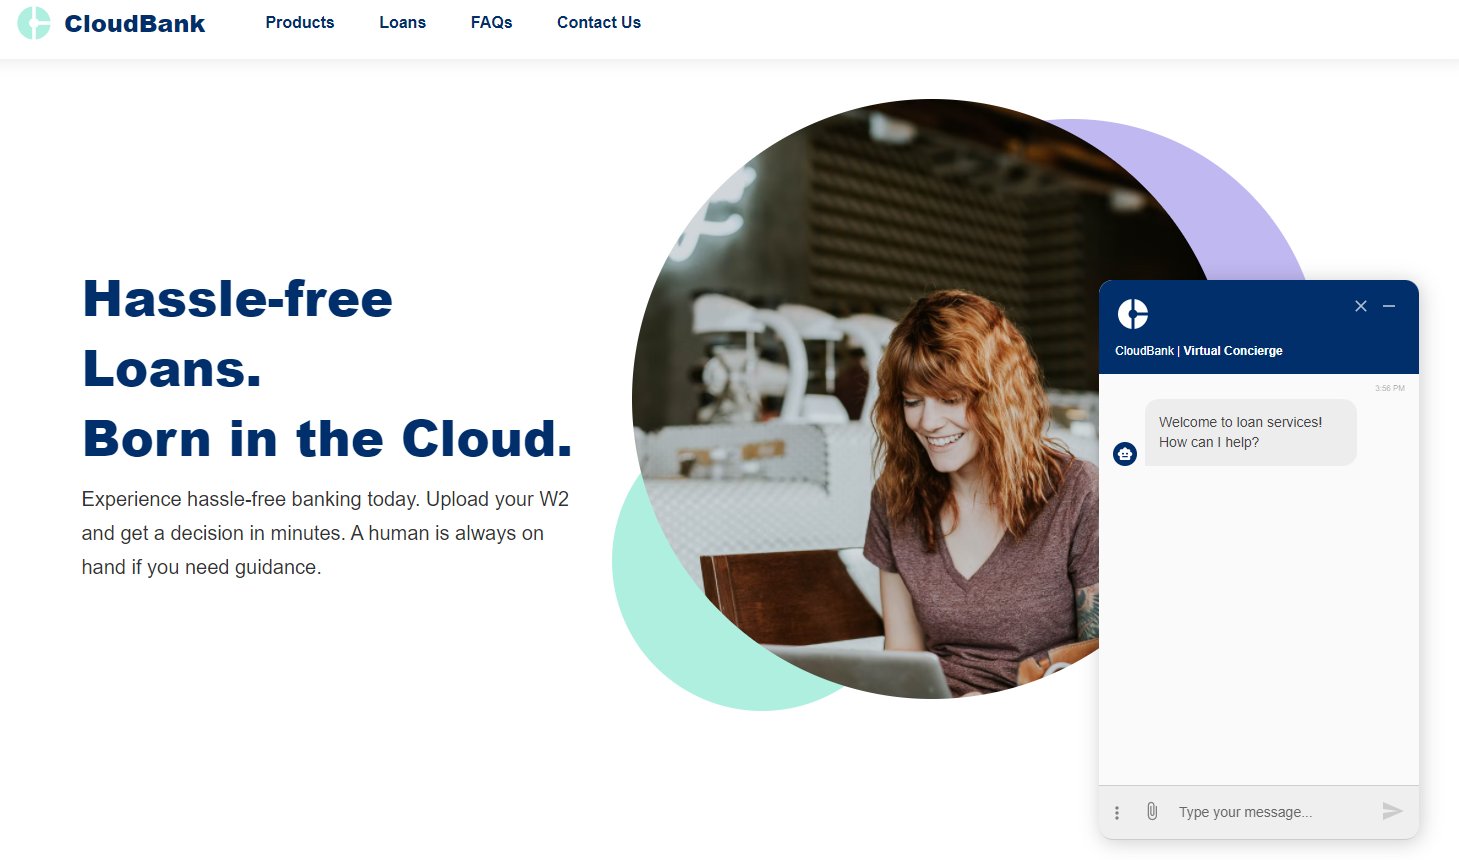
The following example depicts the interaction between bot and borrower.
The following diagram illustrates the solution architecture.
The solution workflow is as follows:
Customers navigate to a URL served by CloudFront, which fetches webpages from an S3 bucket and sends JavaScript to the web browser.
The web browser renders the webpages and makes an API call to API Gateway.
API Gateway triggers the associated Lambda function.
The function initiates a startChatContact API call with Amazon Connect and triggers the contact flow associated with it.
Amazon Connect triggers Amazon Lex with the utterance to classify the intent. After the intent is classified, Amazon Lex elicits the required slots and asks the customer to upload the document to fulfill the intent.
The applicant uploads the W2 document to the S3 bucket using the upload attachment icon in the chat window.
As a best practice, consider implementing encryption at rest for the S3 bucket using AWS Key Management Service (AWS KMS). Additionally, you can attach a bucket policy to the S3 bucket to ensure data is always encrypted in transit. Consider enabling server access logging for the S3 bucket to capture detailed records of requests to assist with security and access audits. For more information, see Security Best Practices for Amazon S3.
The web browser makes a call to Amazon Connect to retrieve a pre-signed URL of the uploaded image. Make sure the pre-signed URLs expire a few minutes after the Lambda function runs the logic.
After the document has been uploaded successfully, the web application makes an API call to API Gateway to updates the file location for use in Amazon Lex session attributes.
API Gateway triggers a Lambda function to pass the W2 pre-signed URL location. The function updates the session attributes in Amazon Lex with the pre-signed URL of the W2 document.
The web browser also updates the slot to uploaded, which fulfills the intent.
Amazon Lex triggers a Lambda function, which downloads the W2 image data and sends it to Amazon Textract for processing.
Amazon Textract reads all the fields from the W2 image document, converts them into key-value pairs, and passes the data back to the Lambda function.
Amazon Textract conforms to the AWS shared responsibility model, which outlines the responsibilities for data protection between AWS and the customer. For more information, refer to Data Protection in Amazon Textract.
Lambda uses the W2 data for evaluation of the loan application and returns the result to the web browser.
Follow the best practices for enabling logging in Lambda. Refer to part 1 and part 2 of the blog series “Operating Lambda: Building a solid security foundation.”
Data in-transit is secured using TLS, and it’s highly recommended to encrypt data at rest. For more information about protecting data inside your S3 bucket, refer to Strengthen the security of sensitive data stored in Amazon S3 by using additional AWS services.
Prerequisites
For this walkthrough, you should have the following prerequisites:
An AWS account.
An Amazon Connect contact center instance in the us-east-1 Region. You can use an existing one or create a new one. For instructions, refer to Get started with Amazon Connect. If you have an existing Amazon Connect instance and chat isn’t enabled, refer to Enabling Chat in an Existing Amazon Connect Contact Center.
Chat attachments enabled in Amazon Connect. For instructions, refer to Enable attachments to share files using chat. For CORS setup, use option 2, which uses the * wildcard to AllowedOrigin.
The example project located in the GitHub repository. You need to clone this repository on your local machine and use AWS Serverless Application Model (AWS SAM) to deploy the project. To install the AWS SAM CLI and configure AWS credentials, refer to Getting started with AWS SAM.
Python 3.9 runtime to support the AWS SAM deployment.
Import the Amazon Connect flow
To import the Amazon Connect flow, complete the following steps:
Log in to your Amazon Connect instance.
Under Routing, choose Contact Flows.
Choose Create contact flow.
On the Save menu, choose Import flow.
Choose Select and choose the import flow file located in the /flow subdirectory, called Loan_App_Connect_Flow.
Save the flow. Do not publish yet.
Expand Show additional flow information and choose the copy icon to capture the ARN.
Save these IDs for use as parameters in the CloudFormation template to be deployed in the next step:
The Amazon Connect instance ID is the long alphanumeric value between the slashes immediately following instance in the ARN. For this post, the instance ID is 11111111-1111-1111-1111-111111111111.
The contact flow ID is the long value after the slash following contact-flow in the ARN. For this post, the flow ID is 22222222-2222-2222-2222-222222222222.
Deploy with AWS SAM
With the instance and flow IDs captured, we’re ready to deploy the project.
Open a terminal window and clone the GitHub repository in a directory of your choice.
Navigate to the amazon-connect-virtual-credit-agent directory and follow the deployment instructions in GitHub repo.
Record the Amazon Lex bot name from the Outputs section of the deployment for the next steps (called Loan_App_Bot if you accepted the default name).
Return to these instructions once the AWS SAM deploy completes successfully.
Update the contact flow blocks
To update the contact flow blocks, complete the following steps:
Log in to your Amazon Connect instance
Under Routing, choose Contact Flows.
Choose the flow named Loan_App_Flow.
Choose the Get customer input block.
Under the Amazon Lex section, choose the bot named Loan_App_Bot and the dev alias created earlier.
Choose Save.
Choose the Set working queue block.
Choose the X icon and on the drop-down menu, choose BasicQueue.
Choose Save.
Save the flow.
Publish the flow.
Test the solution
You’re now ready to test the solution.
Log in to you Amazon Connect instance for setting up an Amazon Connect agent for a chat.
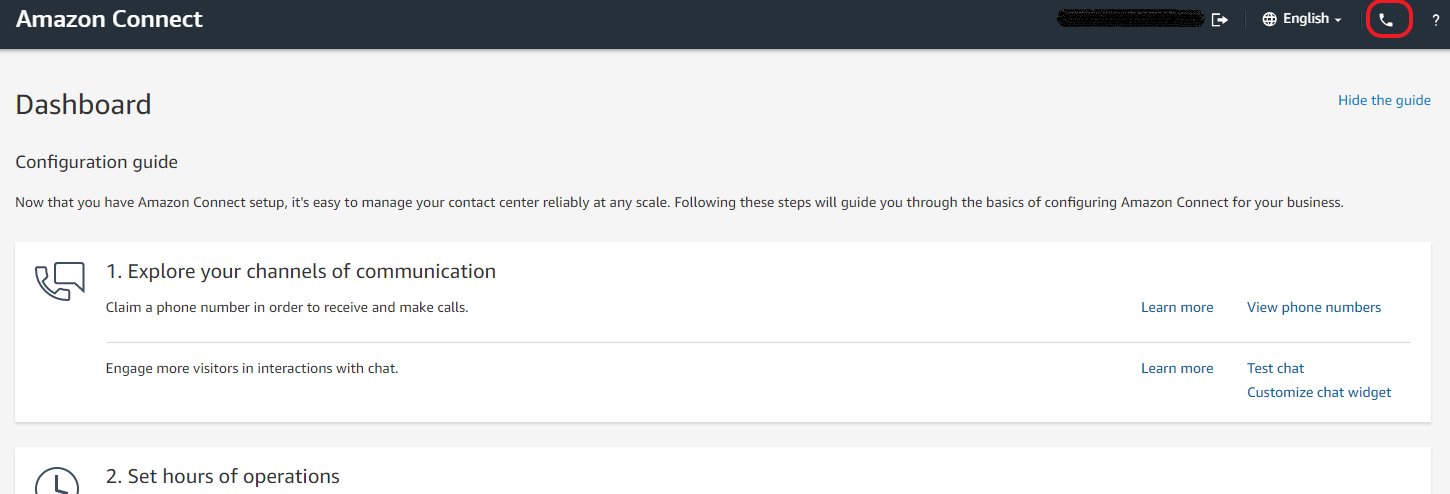
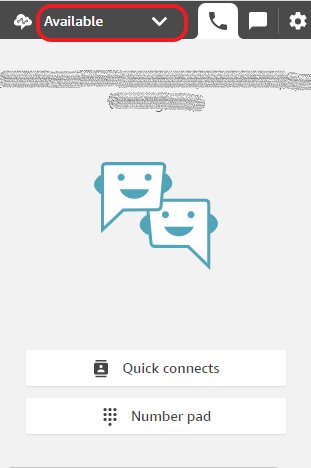
On the dashboard, choose the phone icon to open the Contact Control Panel (CCP) in a separate window.
In the CCP, change the agent state to Available.
On the Outputs tab for your CloudFormation stack, choose the value for cloudFrontDistribution.
This is a link to your CloudFront URL. You’re redirected to a webpage with your loan services bot. A floating action button (FAB) is on the bottom right of the screen.
Choose the FAB to open the chat bot.
After you get the welcome message, enter I need a loan.
When prompted, choose a loan type and enter a loan amount.
Upload an image of a W2 document.
A sample W2 image file is located in the project repository in the /img subdirectory. The file is called w2.png.
After the image is uploaded, the bot asks you if you want to submit the application.
Choose Yes to submit.
After submission, the bot evaluates the W2 image and provides a response. After a few seconds, you’re connected to an agent.
You should see a request to connect with chat in the CCP.
Choose the request to accept.
The agent is now connected to the chat user. You can simulate each side of the conversation to test the chat session.
Choose End Chat when you’re done.
Troubleshooting
After you deploy the stack, if you see an Amazon S3 permission error when viewing the CloudFront URL, it means the domain isn’t ready yet. The CDN can take up to 1 hour to be ready.
If you can’t add your attachments, check your CORS setting. For instructions, refer to Enable attachments to share files using chat. For CORS setup, use option 2, which uses the * wildcard to AllowedOrigin.
Clean up
To avoid incurring future charges, remove all resources created by deleting the CloudFormation stack.
Conclusion
In this post, we demonstrated how to quickly and securely set up a loan application processing solution. Data at rest and in transit are both encrypted and secured. This solution can act as a blueprint to build other self-service processing flows where Amazon Connect and Amazon Lex provide a conversational interface for customer engagement. We look forward to seeing what other solutions you build using this architecture.
Should you need assistance building these capabilities and Amazon Connect contact flows, please reach out to one of the dozens of Amazon Connect partners available worldwide.
About the Authors
Dipkumar Mehta is a Senior Conversational AI Consultant with the Amazon ProServe Natural Language AI team. He focuses on helping customers design, deploy and scale end-to-end Conversational AI solutions in production on AWS. He is also passionate about improving customer experience and drive business outcomes by leveraging data.
Cecil Patterson is a Natural Language AI consultant with AWS Professional services based in North Texas. He has many years of experience working with large enterprises to enable and support global infrastructure solutions. Cecil uses his experience and diverse skill set to build exceptional conversational solutions for customers of all types.
Sanju Sunny is a Digital Innovation Specialist with Amazon ProServe. He engages with customers in a variety of industries around Amazon’s distinctive customer-obsessed innovation mechanisms in order to rapidly conceive, validate and prototype new products, services and experiences.
Matt Kurio is a Security Transformation Consultant with the Amazon ProServe Shared Delivery Team. He excels helping enterprise customers build secure platforms and manage security effectively and efficiently. He also enjoys relaxing at the beach and outdoor activities with his family.
Read MoreAWS Machine Learning Blog